Birthdays are always special and this year my elder one stepped into the fantastic “FIVE’s” and the younger one into the terrific “THREE’s”!!! Both being born in the same month, it’s a no-brainer that I do a joint party.
Being a little ‘lover of the craft’, it gives me immense pleasure to do the party decor myself to make the boys feel extra special on their birthdays! Towards the beginning of the year, my boys were hooked on to “Harry Potter” and wanted that theme for their party – yes! they have grown to voice their wants! Being the mom that I am, I accepted the challenge and started collecting related things from April (planning ahead is the key).
But one month ahead of the party they suddenly wanted PJ Mask theme and there went my planning-ahead down the drain!!! I had no idea about this new theme so I watched two episodes with them to get an idea – perfect for the #momlife right??
After a couple of trips to the Art Friend (art/craft supplies store), Popular (bookstore), Spotlight (party and DIY supplies store) and rummaging through Pinterest and Google for ideas, I started getting the backdrop and the decor ready.
In the end the whole thing looked like this…

The step by step…
PJ Mask Backdrops and PJ Mask Figurines
I needed: (for each)
- 2 thick paper (card stock) – size 50X70 cm, 120gms weight
- Glue – I used a hot glue gun and double sided tape
- Coloured paper- cut into desired shapes
- Colour Printer
- A4 White card stock for the print outs
- Ice cream sticks – quite a few
- Wooden dowel or skewers
- Weights – I used balloon weights
Print out the pictures from the internet, and cut them closer to the line. This part needs lot of patience and time. I used the following links for the PJ Mask related print outs:
A big shoutout to this awesome mama for DIY-ing her kid’s superhero birthday party – Link is here

Once the printouts are done, just stick some lolly sticks to make the printout sturdy and then put the dowel in the lower part of the character printout, so that the figurines are able to stand.
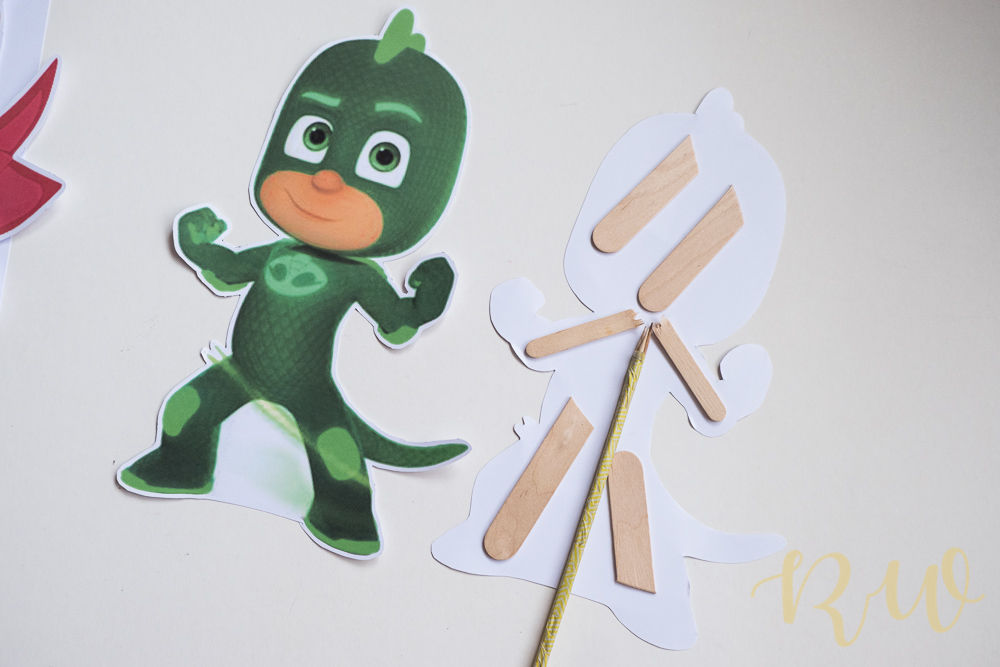
Sandwich the two printouts to make the figurine.

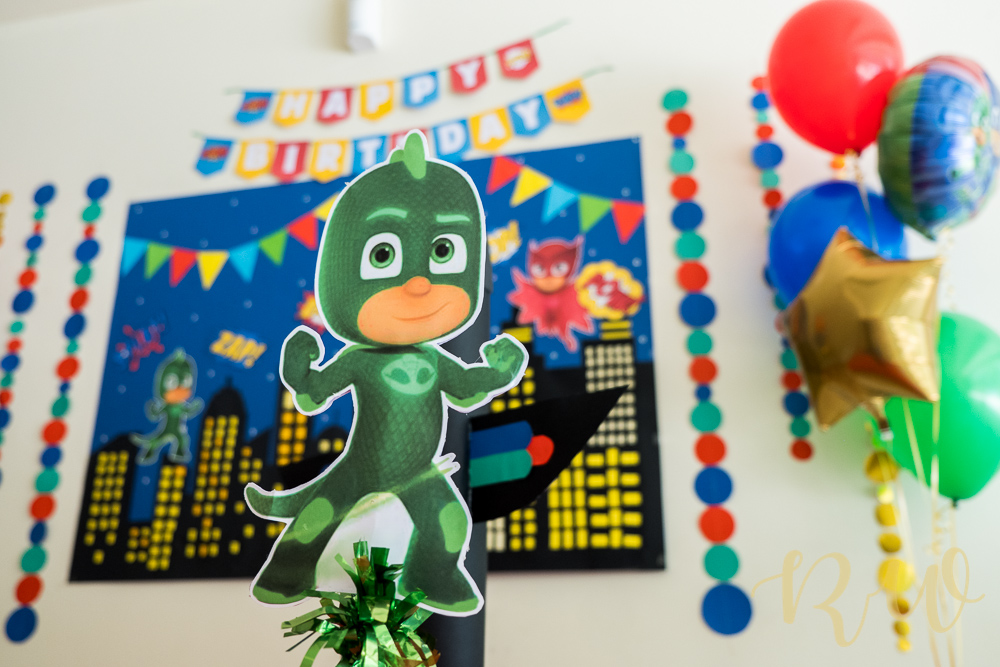
The Backdrop was easy to do – all I needed was some hours of peace and quite: perfect time when the kids stepped out for school.
I stuck two of the big blue cardstocks (each 50cm x 70cm) to make one big backdrop. Refer the first photo with all the props for a sense of the scale.
I used a big black cardstock for the building silhouette, some varied shades of yellow paper for the lights in the building. A paper cutter is a life saver if you have it.
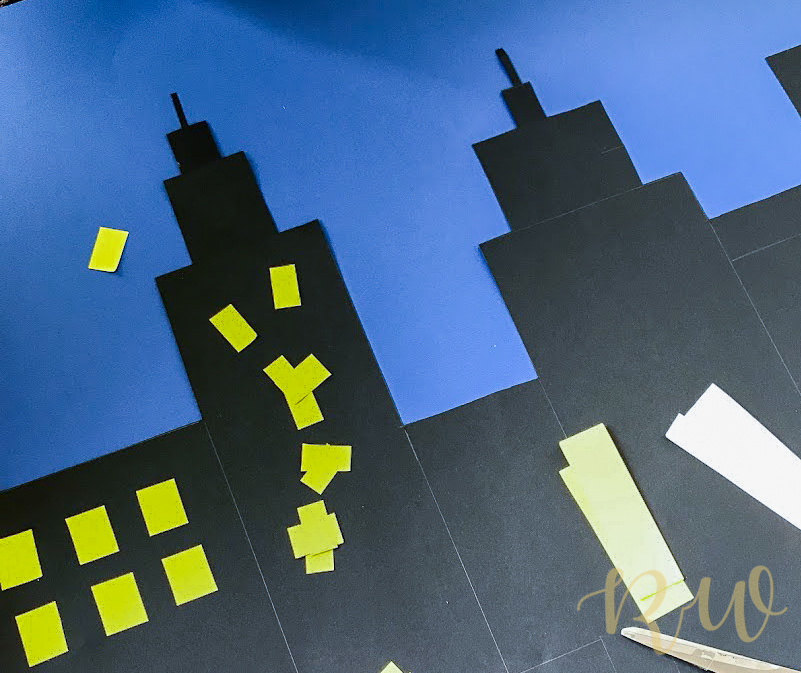

Some holographic stars confetti (from Spotlight) were perfect for the night sky. I made good use of a few coloured chart papers I had lying around, by cutting them into triangles for the banner. To be honest, the shapes weren’t perfect, but overall it gave quite a nice look.

I made a similar backdrop for a ‘photo booth’ outside the hall and it was a major hit too.
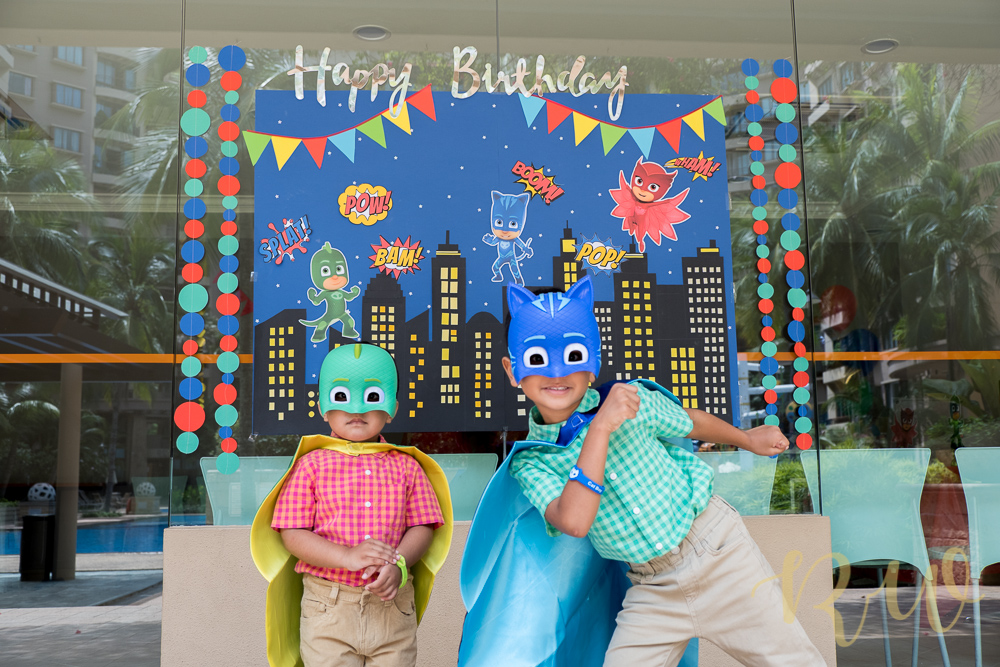

One of the best part of DIY-ing your decorations, apart from being very satisfying, is that it saves a lot of money which can be spent on something more fun and worthwhile.
We hired a magician (Derek Magician) for the party this time and it was one of the highlights of the party. I cannot explain how much my boys and their friends enjoyed, at one point of time, my son was almost had ROFL moment during the show!!!!
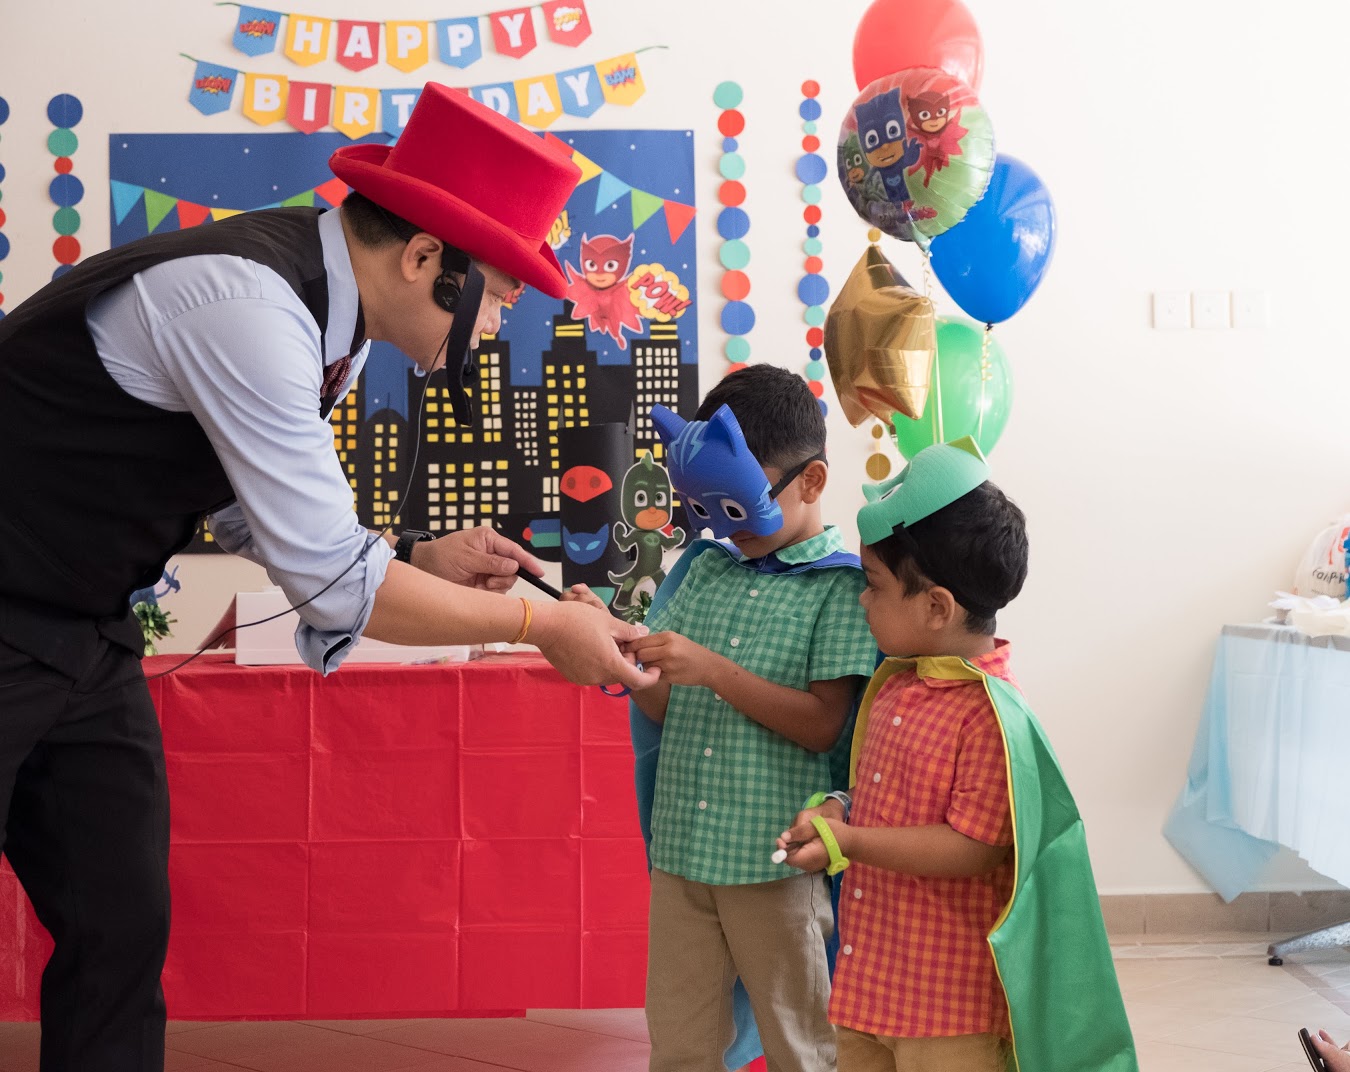

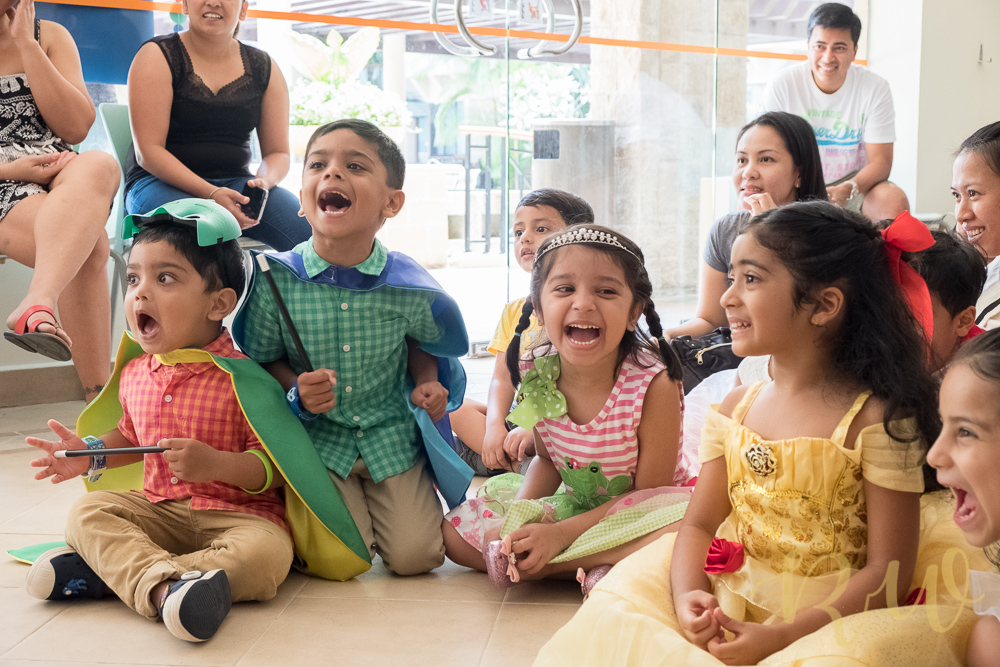
The cape and the masks we ordered from Qoo10 – Link is here

Keeping up with the theme, we also got a PJMask custom made cake, which was simple and delicious!
If you fancy a read about how to plan a kid’s party, here is the link to my last year’s post.
Till then, warm wishes for the season to all of you, my readers! Happy New Year.
Rhea xx
